|
I recently decided I wasn't happy with the two previous linen coifs I previously had made in the past, so I realized it was high time to make a new one - a far more accurate one! Since my newest Medieval project is going to be that of the 12th Century, I decided to build one that would work for that period, although this style is consistent with coifs worn by men throughout the Medieval Period. This particular article will specifically cover the process that went into producing the coif, rather than the style and its history, which will follow at a later date. Step 1: To start, I used a very nice vintage hand-woven linen acquired from a friend. Due to the size, a simple two-piece coif and the ties can usually be made from scrap from bigger projects, which makes sourcing the fabric much easier. The linen is super soft and is of very nice quality. I opted for a two-piece style which is consistent with most styles seen in period artwork throughout the duration of the Medieval Period. Some three-piece styles were seen in later works, but two-piece designs with a seam down the center across the top and down the back seems most common for the period we are doing. During the 12th Century in particular, artwork seems to show these coifs with squared or rounded "ear flap" tips that terminate at the jaw with a separate tie affixed underneath. Because of this, I opted to go with this style for this recreation. I cut the two halves of the coif with my measurements (usually taken by measuring from the forehead to the nape of the neck with some other tweaking to determine how far forward on the face it will reach, etc.). The two pieces are then pinned together across the top and down the back of the head - the same location the central seam will be placed. 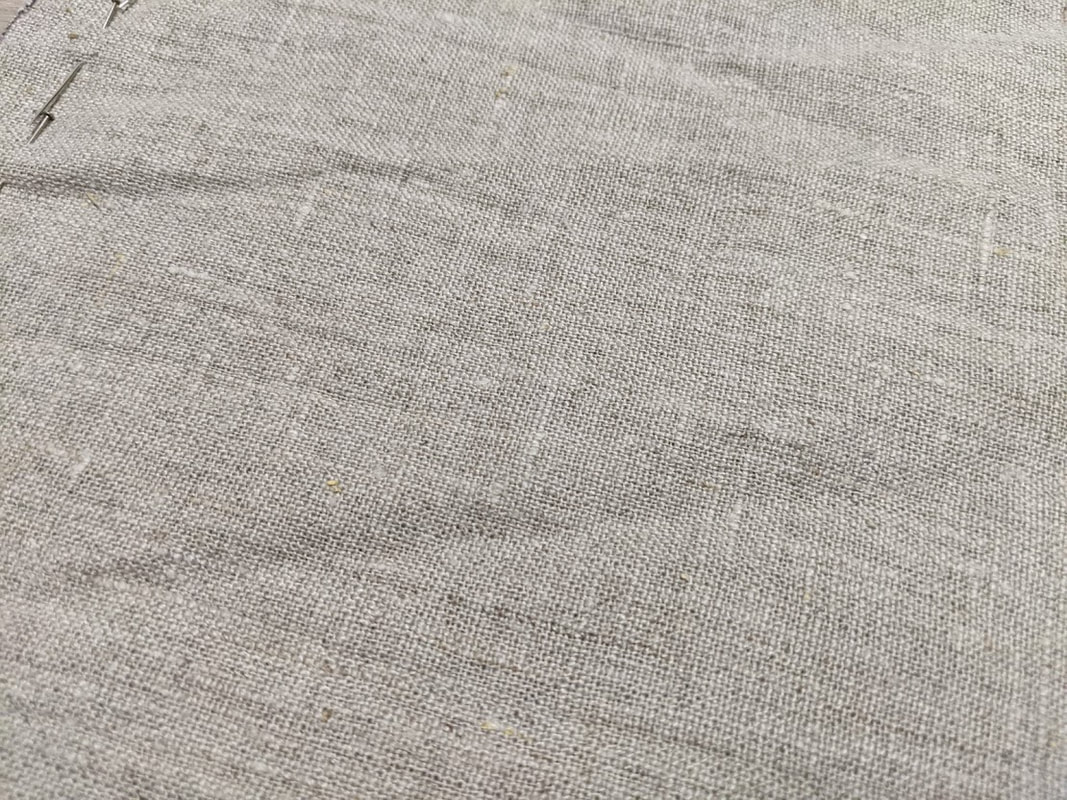 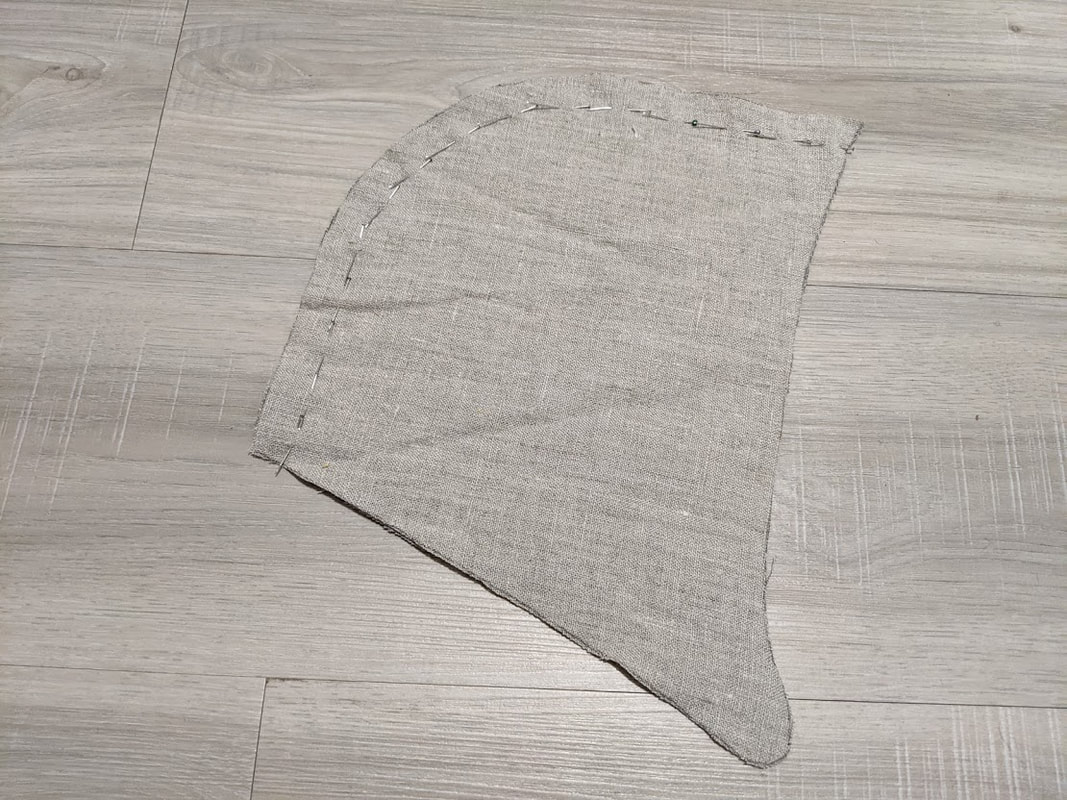 Step 2: For step two, I began the sewing process. To sew this garment, I used locally-sourced hand-spun linen thread. Because real, natural linen thread is much coarser and thicker than what we are used to with modern threads, it usually needs to be waxed before use. I do this by cutting the strand I plan on using and then dragging it between a beeswax block and my thumb a few times along its length. Once it is properly waxed, it's time to start sewing. You can use a simple running stitch, however, I used a running backstitch for this particular project. It has been found to have been used during this time and speeds the process up much quicker. Once it's completed, it should look as the final photo at the bottom of this step. One side will have a nice, neat running stitch while the other will look a little chunkier, but never mind this, it'll be covered by your seam treatments soon enough! 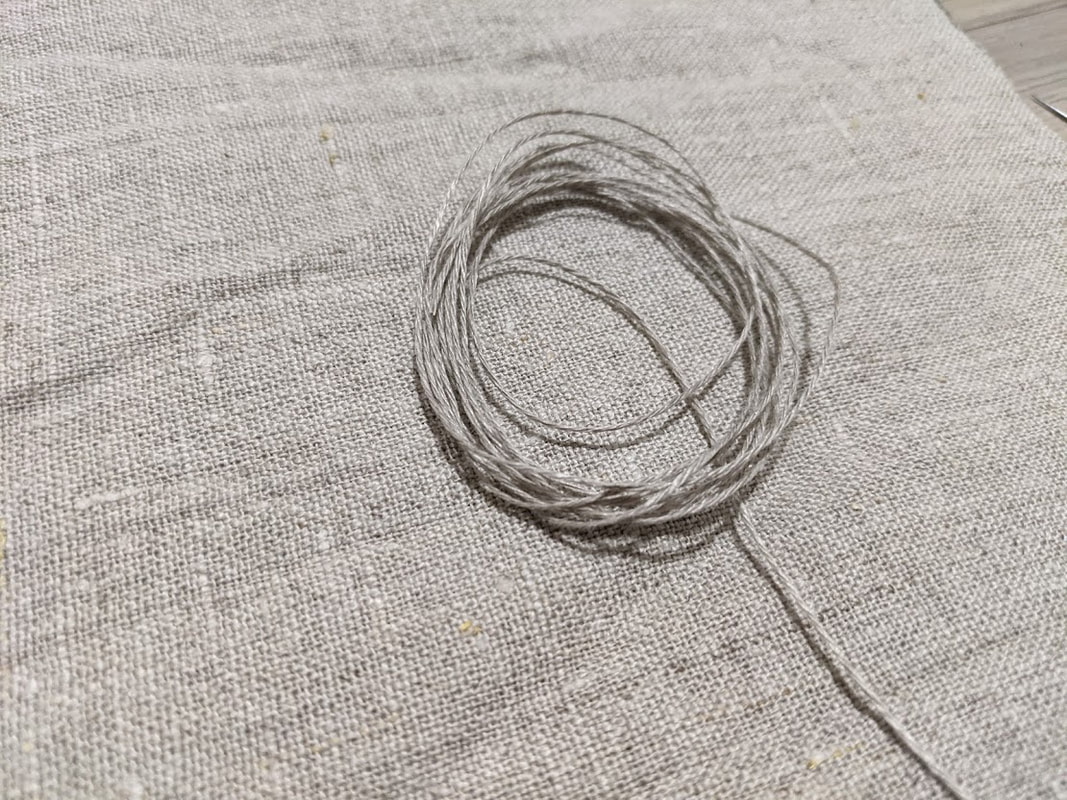 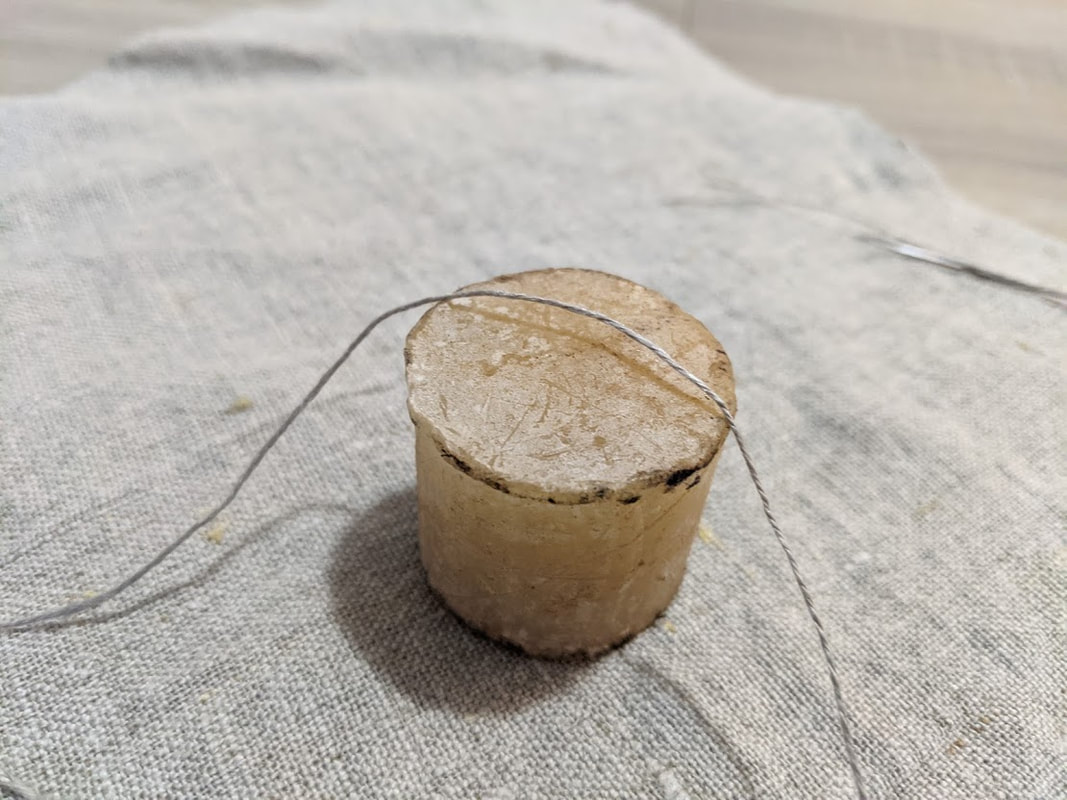 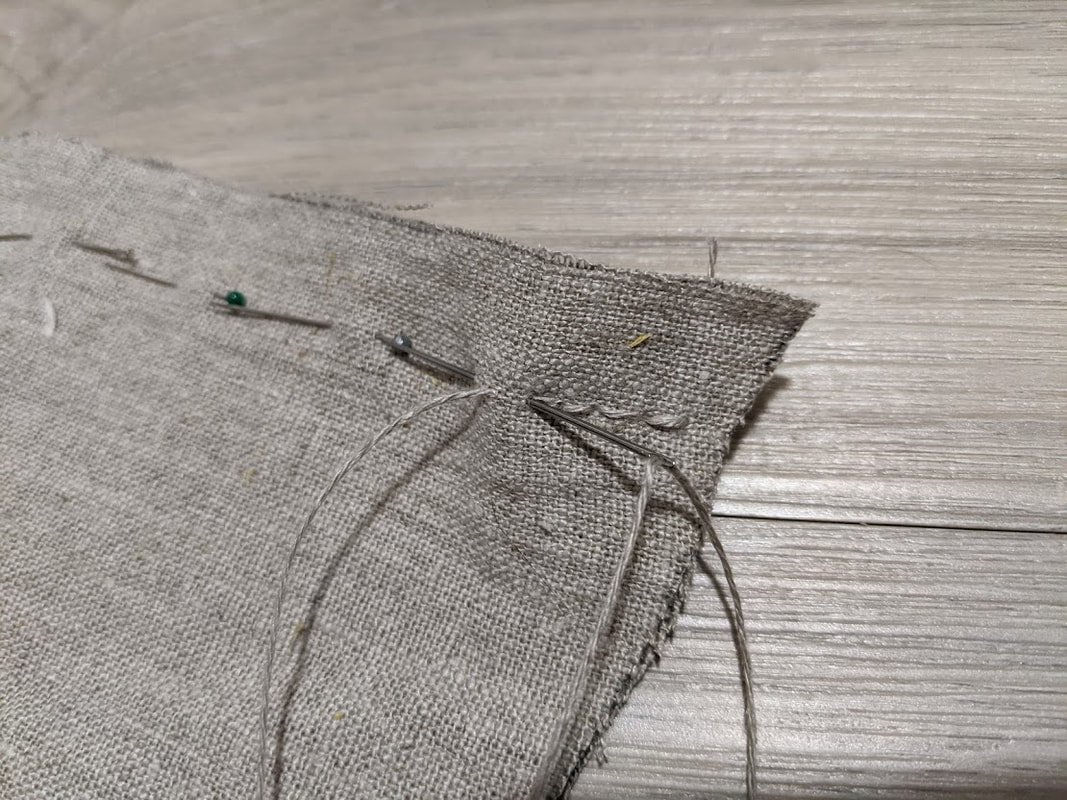 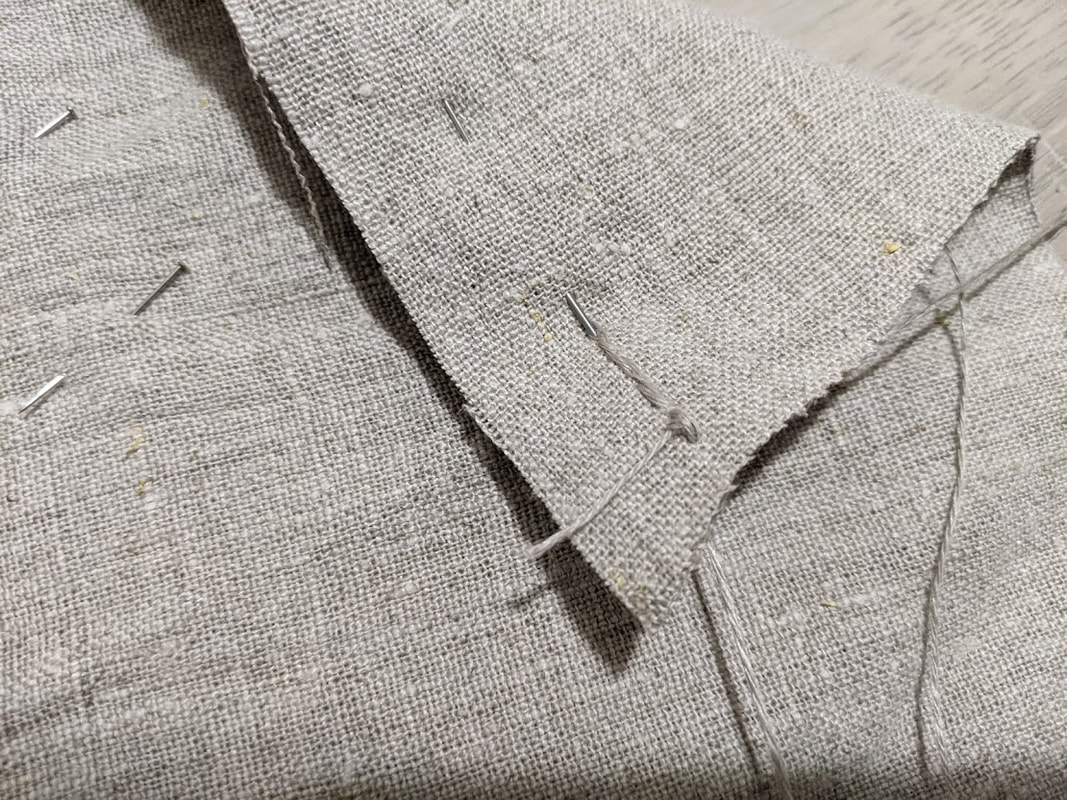 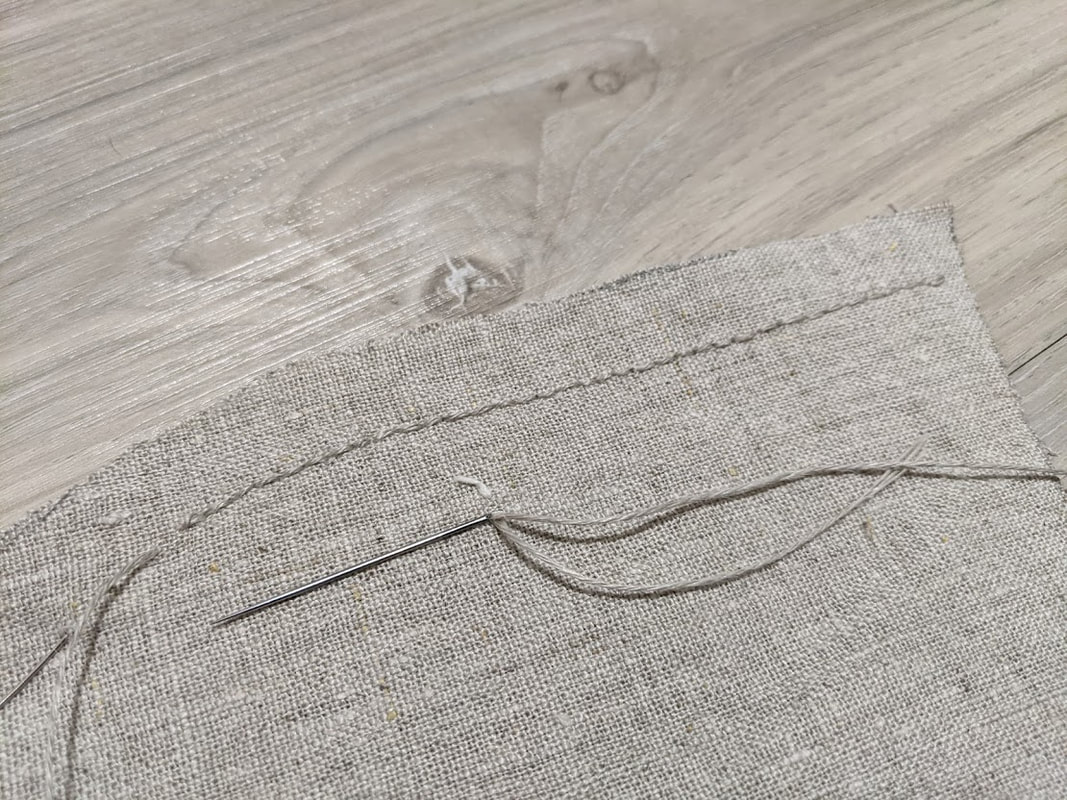 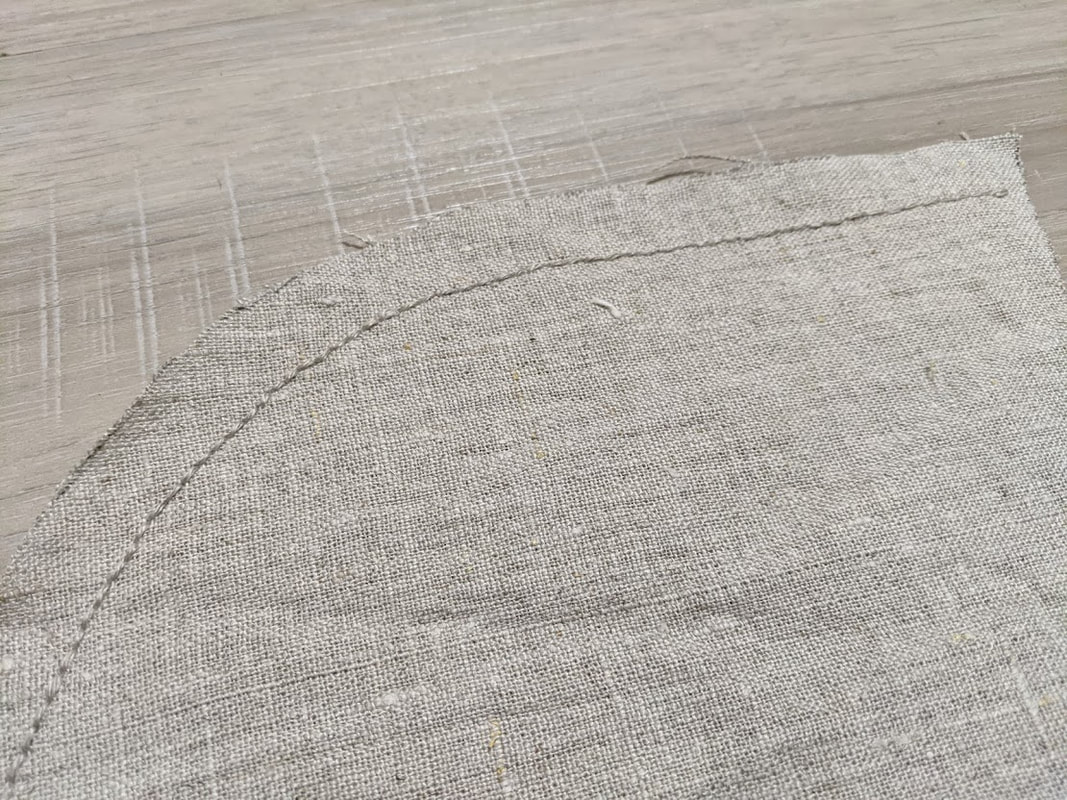 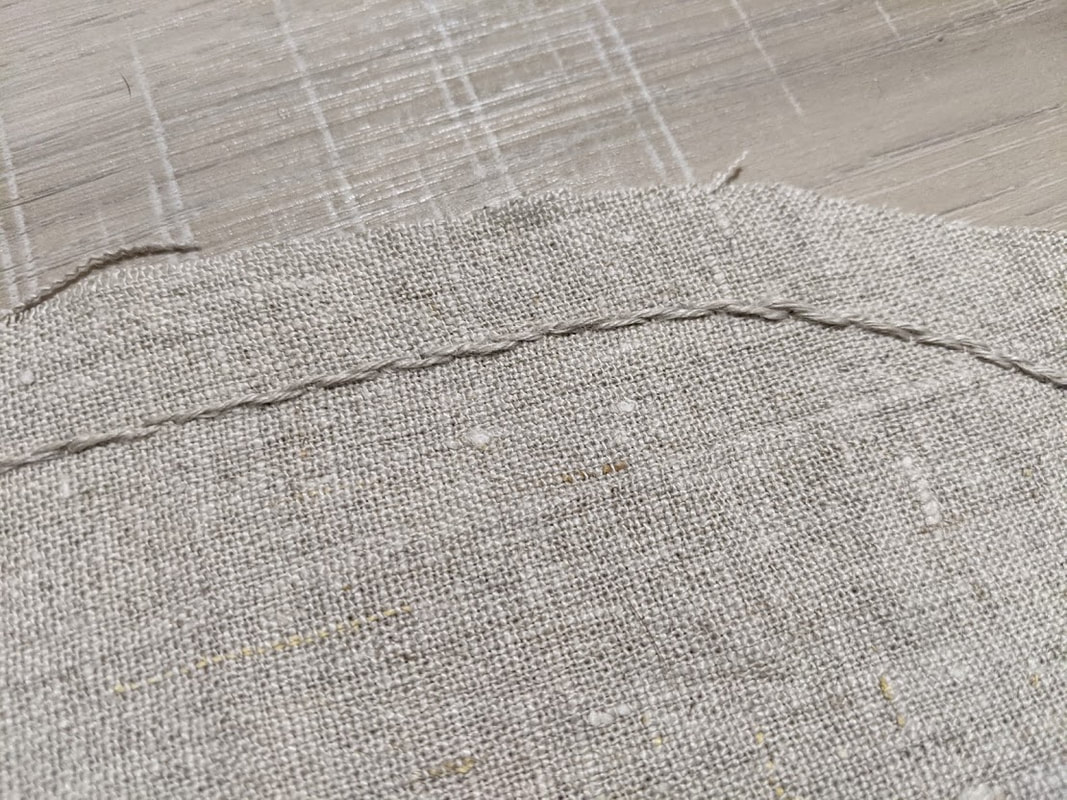 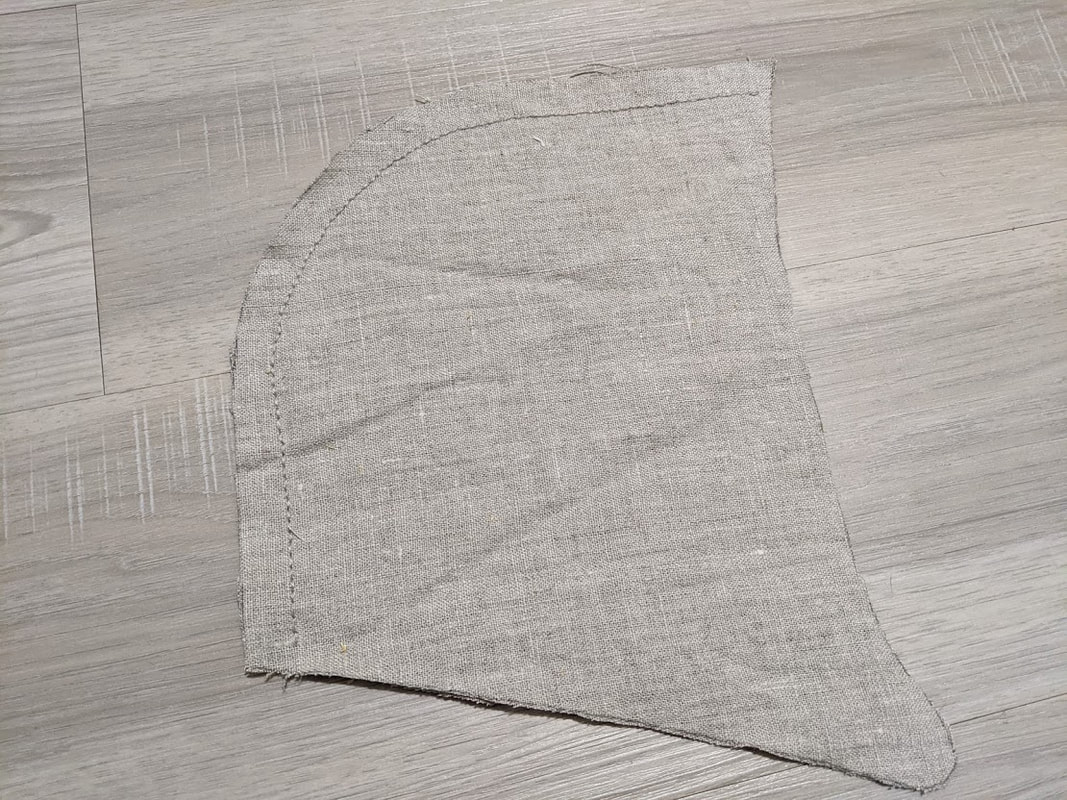 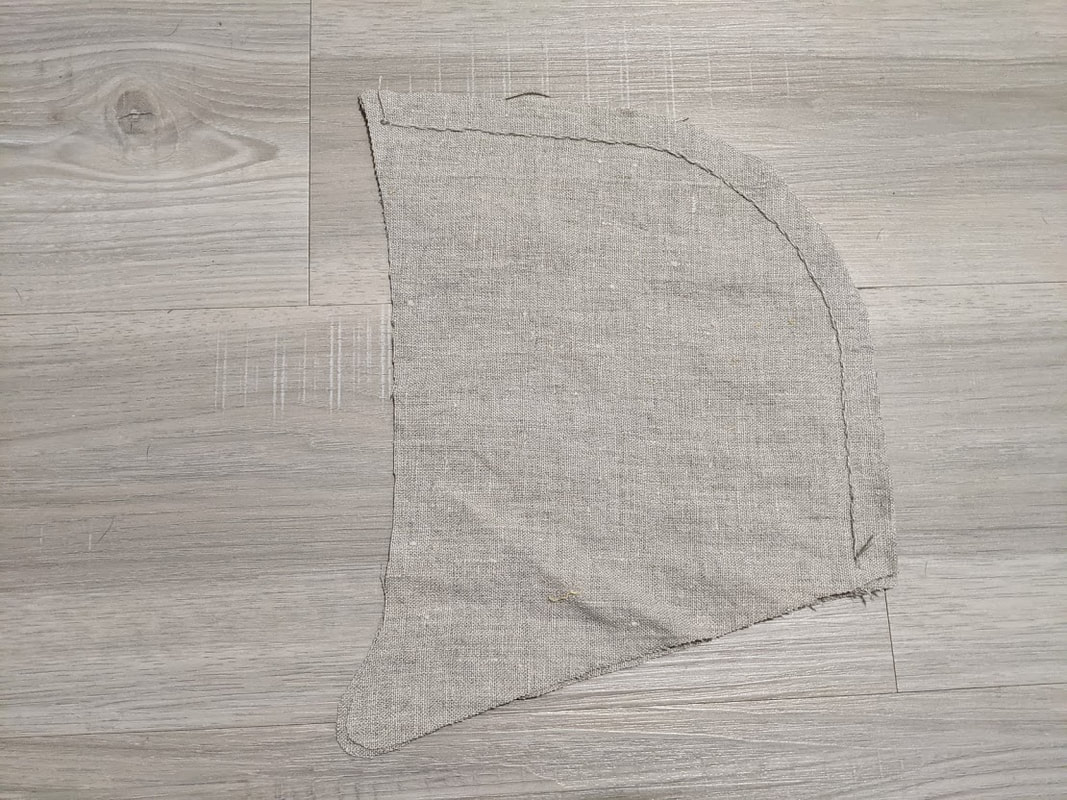 Step 3: Once you have finished the base of the seam, now you need to treat it to prevent fraying. Again, for the sake of time expediency - as well as the fact it was a treatment that existed at the time and is one of the most durable, which is needed for a working garment such as this - I decided to go with a flat-felled seam. You can honestly use any kind of treatment that catches your fancy, but I prefer this the best, plus it also works well with the curve of the seam without bunching too much! To start this process, you will need to flip your coif over to the side with the chunkier stitches and cut it down at the halfway mark. This will be the encased side of the seam and will ensure the prettier-stitched side will be the visible one. 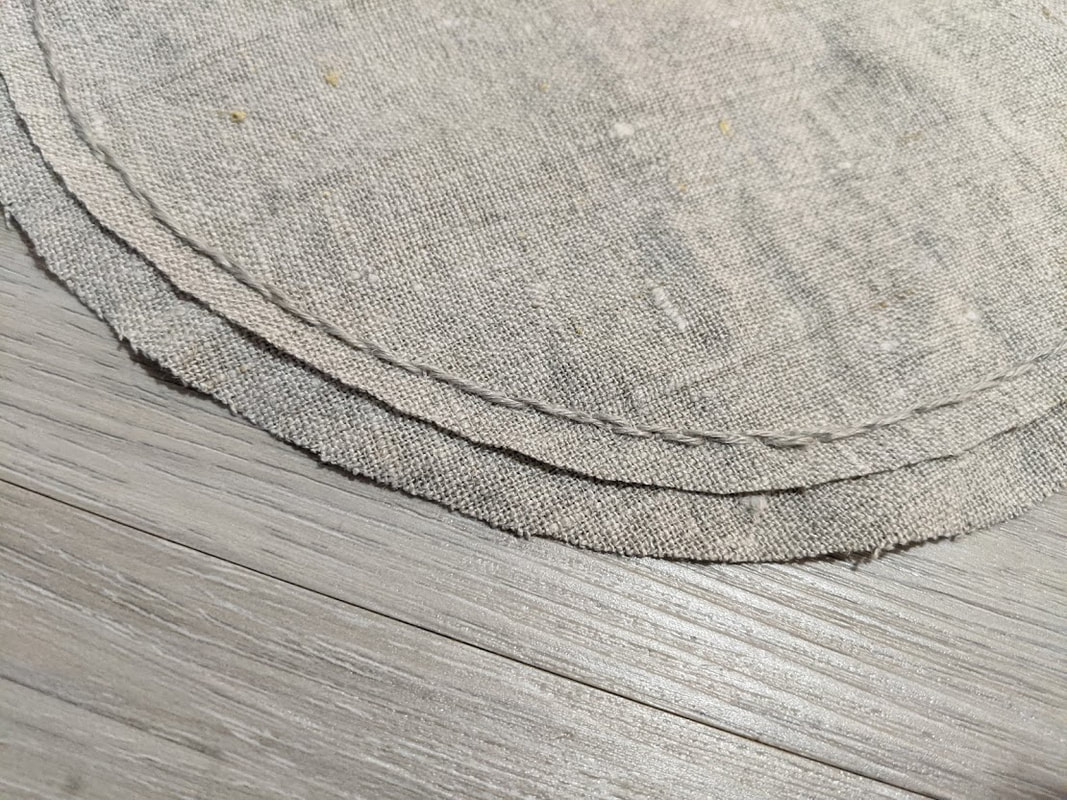 Step 4: After you have trimmed the inner side down, you will need to fold the outer side into the halfway cut, and then over again so that the entire side, as well as the chunky stitches are totally encased inside the outer one. There are some handy videos on how to do this on YouTube, as well! As you fold these over, pin them into place and you're ready to start sewing it down! 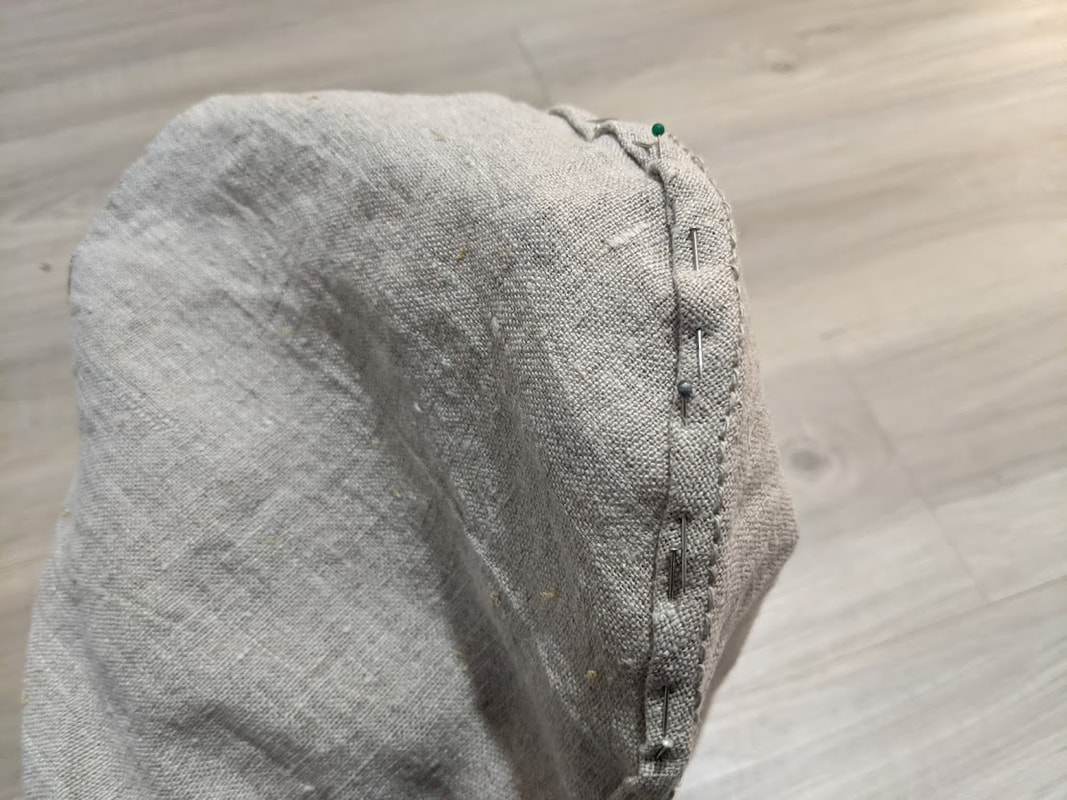 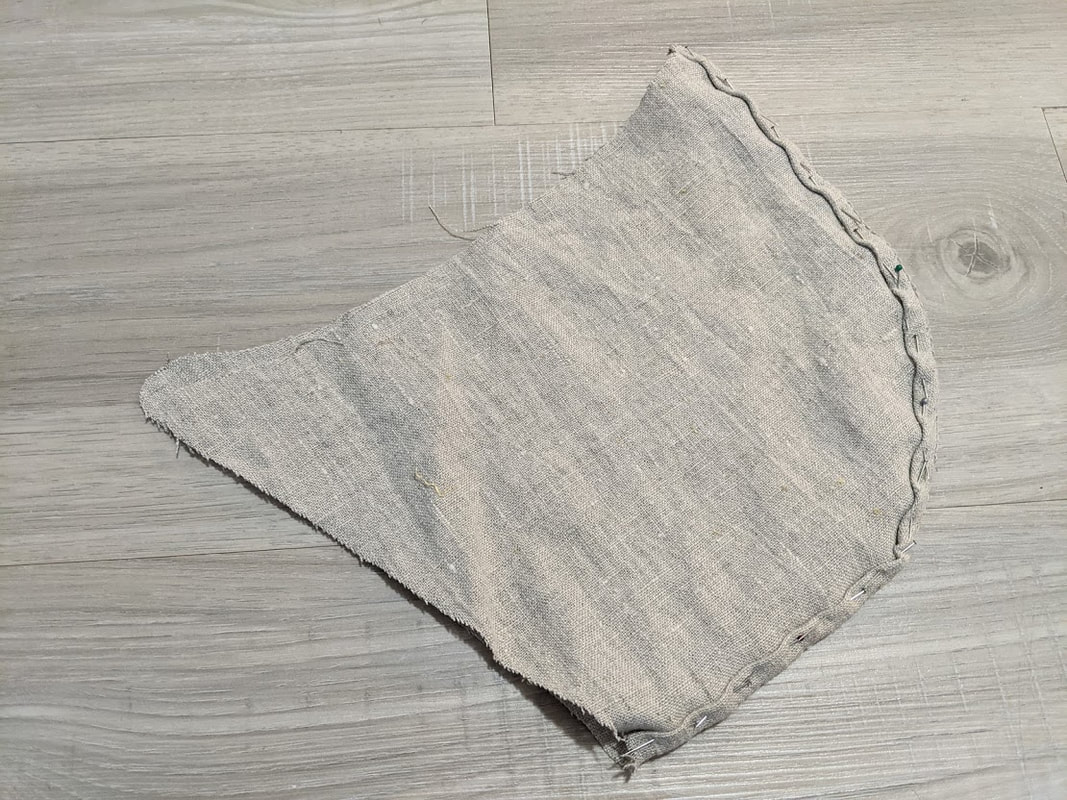 Step 5: The fifth step involves sewing down the treatment. I use a nice hidden overcast stitch (which also goes by several other names), which is done by taking the needle and going through the inner folded edge you're sewing down, and then picking up only two or so threads on the outer "shell" of the garment, then you come back through and back through the folded edge and repeat. This not only makes a very nice, sturdy seam, but ensures it's not super visible on the outside of the garment, as well! 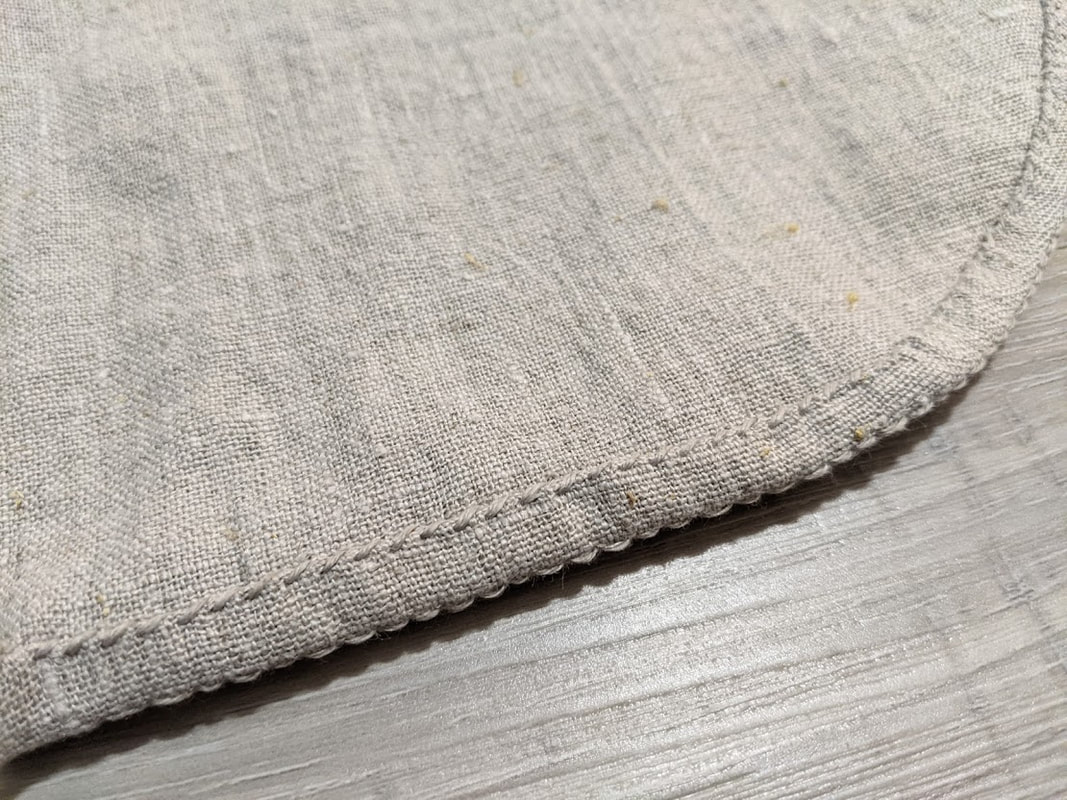 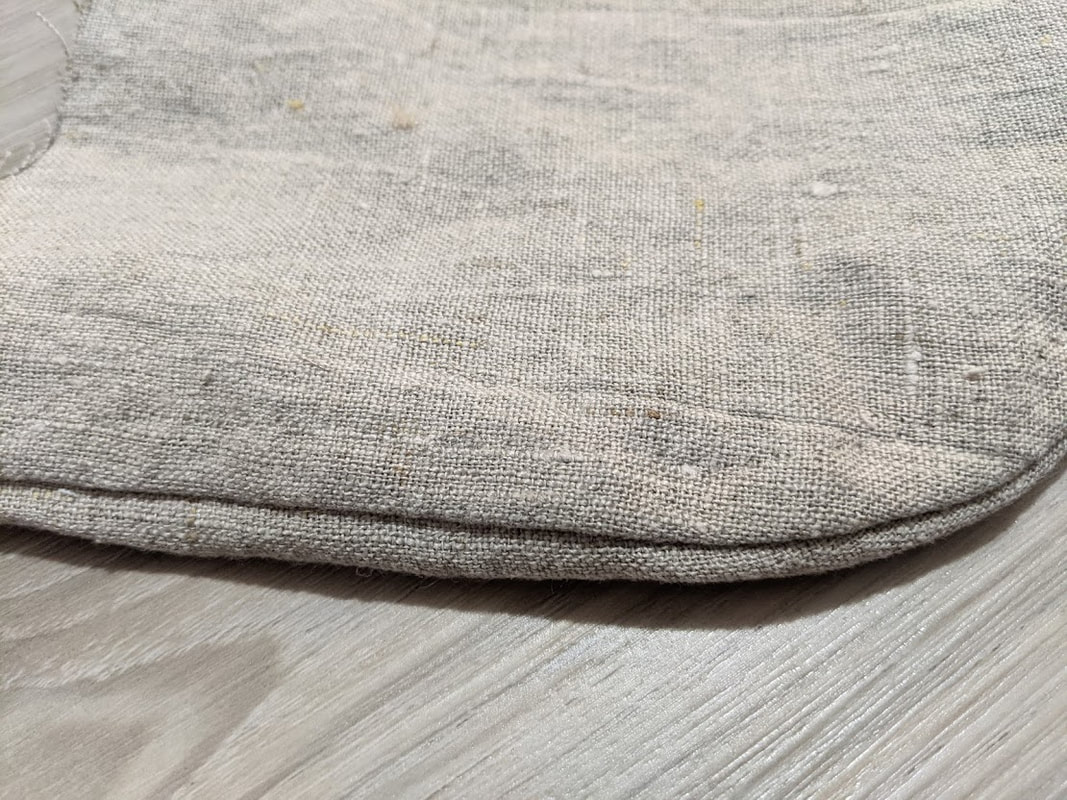 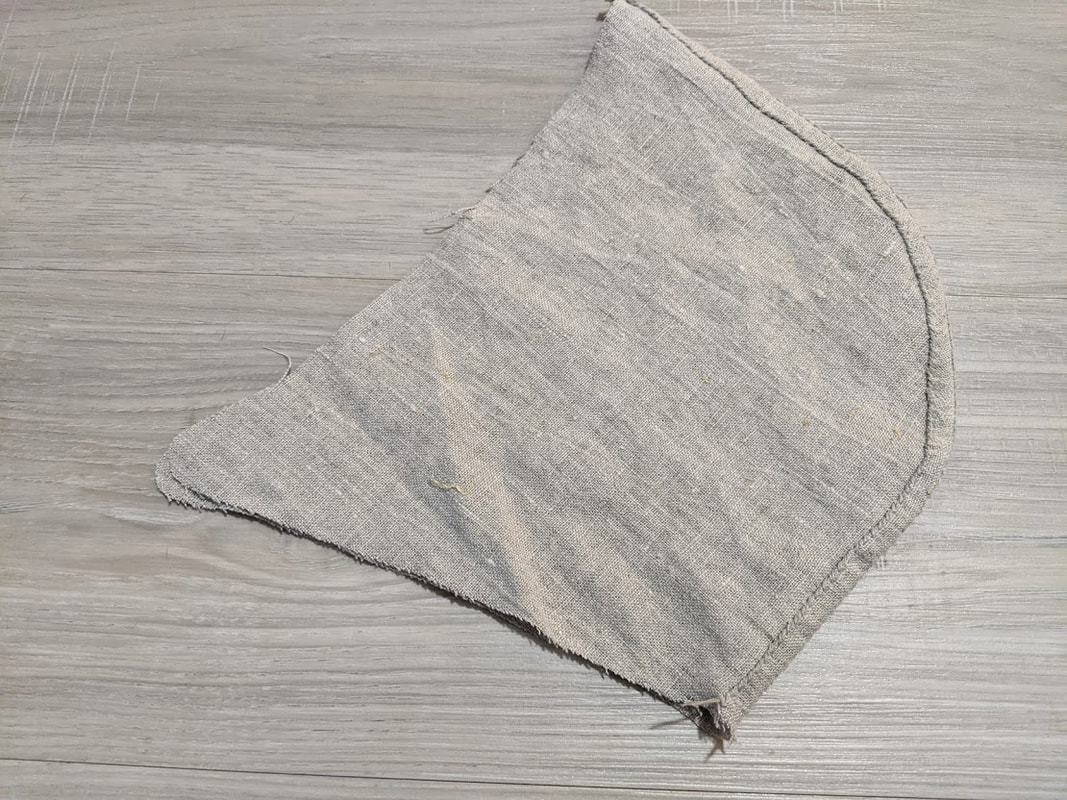 Step 6: Now it's time for hemming. I do a simple rolled hem for the edges on this in which I fold them over a couple of times, pin them down, and the use the same hidden overcast stitch at the seam. Now, if you have rounded "points" on yours, this may require some tweaking, as I fully intended to do rounded ones for mine, however, when I started the hemming process they became too narrow and had to be squared off, so if you are dead-set on rounded ones, you may need to play around with them first to see what works best for you! 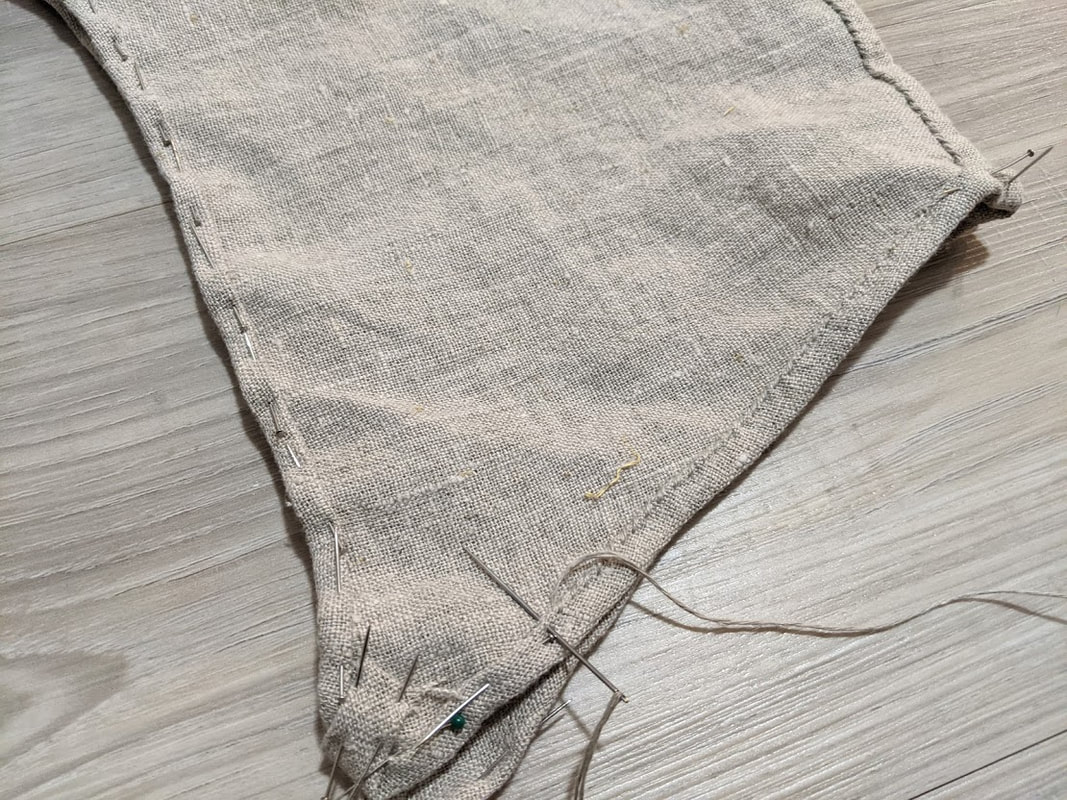 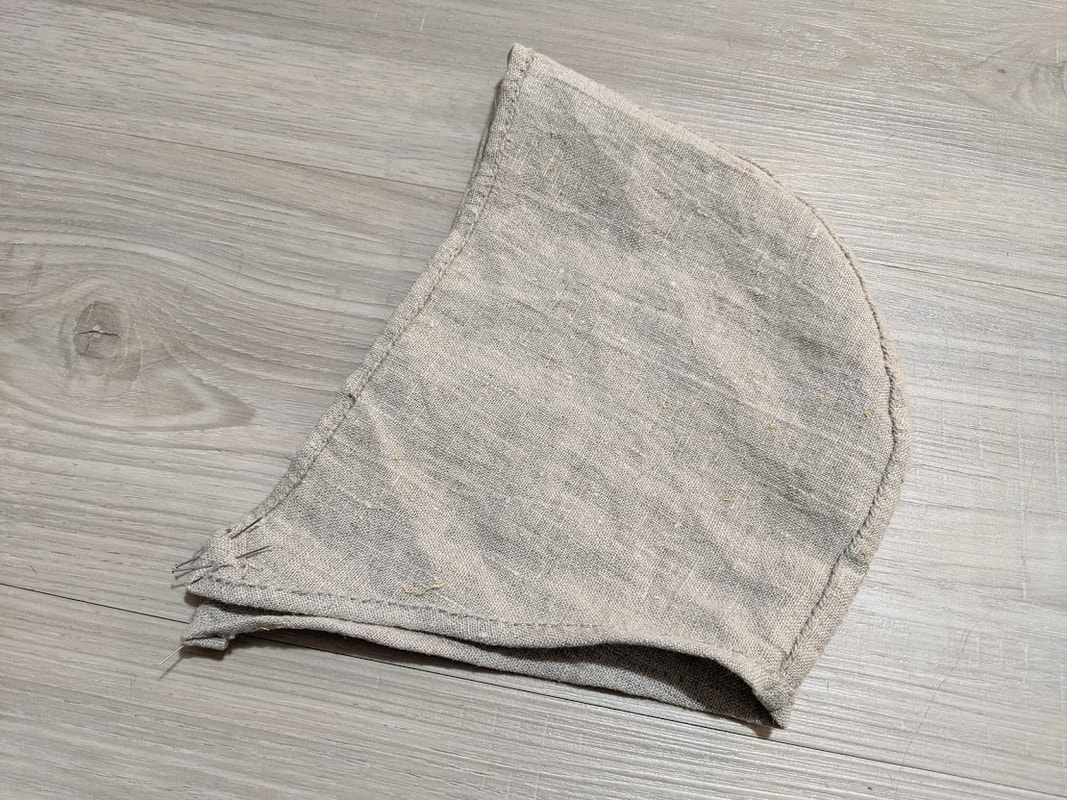 Step 7: So, now that everything has been hemmed except for your points, it's time to complete the ties. For these, I used the same linen as the rest of the coif, though some swear by braided or woven narrow-ware cord for theirs. Personally, there is little historical evidence for which was actually used, so this is left as a matter of discretion. It should be noted, however, that nearly every depiction of a coif being worn by a man in Medieval art shows it being tied under the chin, not hanging loose, so be sure to use a technique that you will be comfortable tying under your chin for long periods of time! I cut these in strips 1" wide by a few long. The length will entirely be determined by how much you need to reach from the coif's point to however far it needs to to be tied comfortably. Once they are cut, they are folded into fourths with the raw edges being encased inside, like a tube. Pin this as you go. Total once pinned and sewn mine measure just shy of 1/4" in width, which I've found is thick enough to be durable and not rip or tear, but still thin enough to be tied and not be cumbersome or uncomfortable. 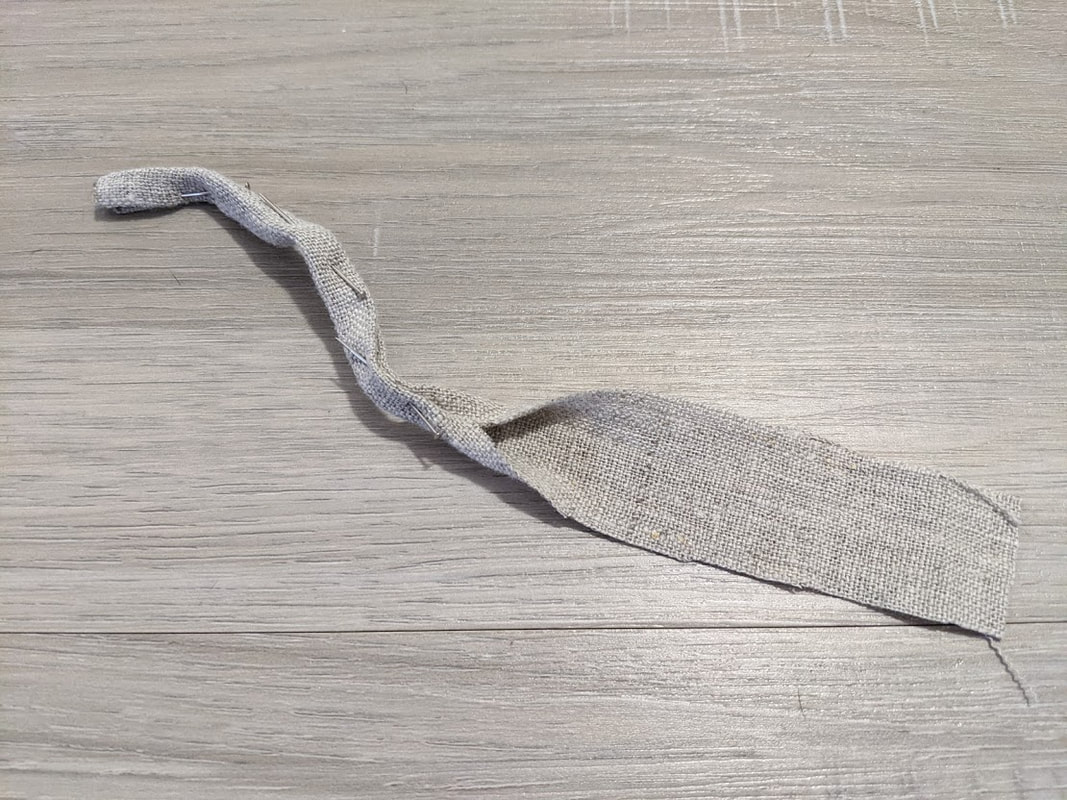 Step 8: Now that the ties are pinned, they are to be sewn. I used a tight whip-stitch along the open edge of the ties. By using a thread similar to what these are woven from, as well as a very sturdy, tight stitch, the thread almost becomes part of the tie, rather than just a binding holding it together. It is important to use a fine thread for this as too coarse will cause the ties to chafe the chin and neck when tied tightly. Be sure when you reach the ends on either piece to turn one end inside on itself to create a hem for the loose ends. This can be a bit tricky and take some getting used to, but once done well can appear seamless. Note, the ties will probably twist a little. This is unavoidable due to the weave and stitch used, but once pressed and worn a few times they should straighten out. After this, they can be simply whip-stitched inside to the inner edges of the points in any angle or location you see as comfortable. Since everyone's neck and face shape is different, this is more of personal comfort or preference. 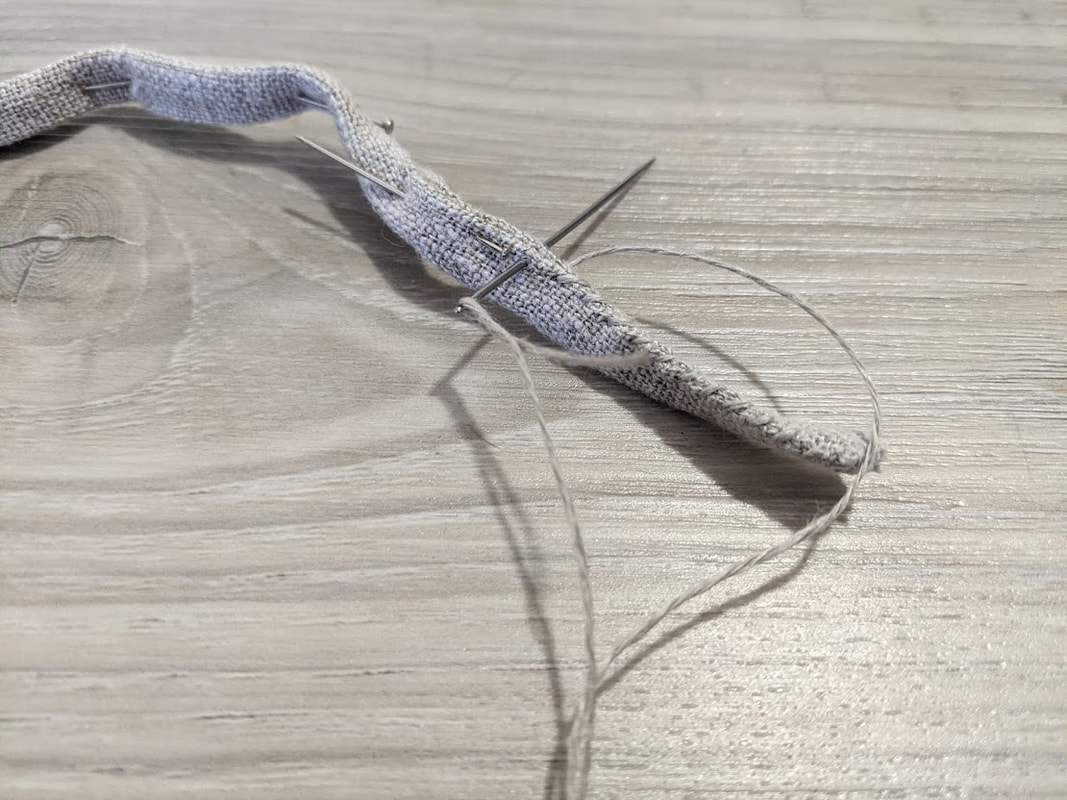  Step 9: Now you are almost done! Now is the time to press out all your seams and hems. A hot iron can work, however, I used a more historical method of just using elbow grease and friction! Historically, many items would have used a hot smoothing or pressing stone, especially in lower income households, however, since I don't have one of those, I used a modern pressing stick, which did the job all the same! 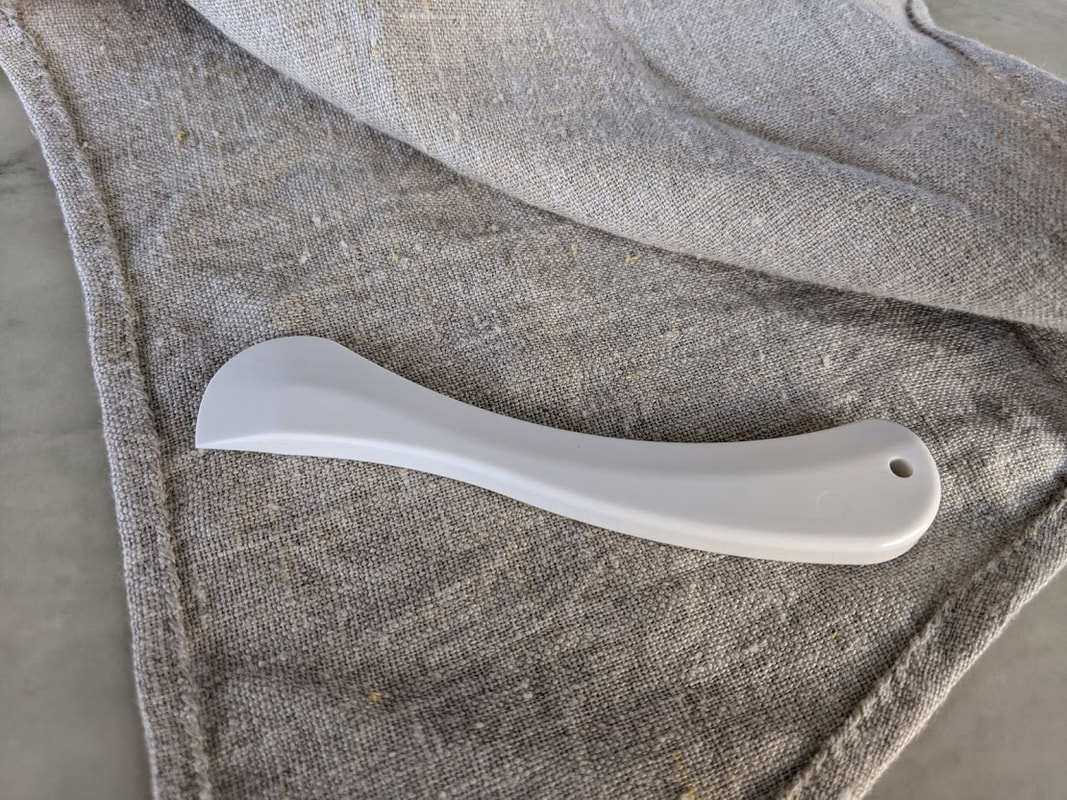 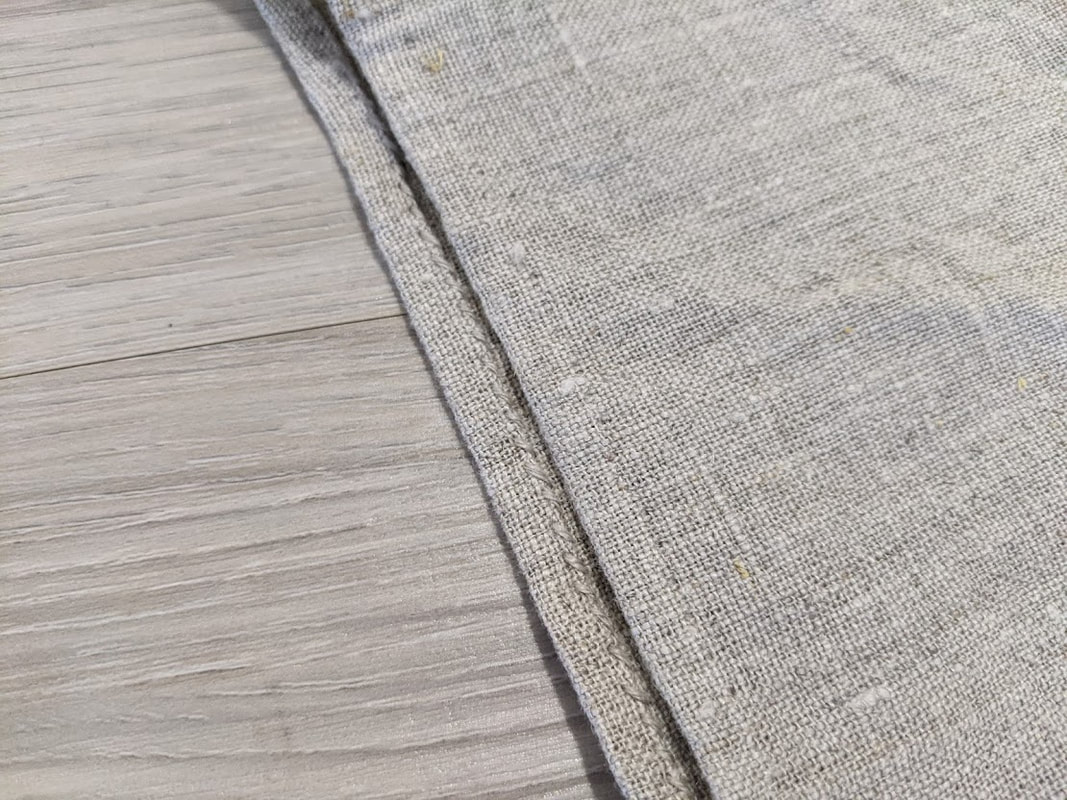 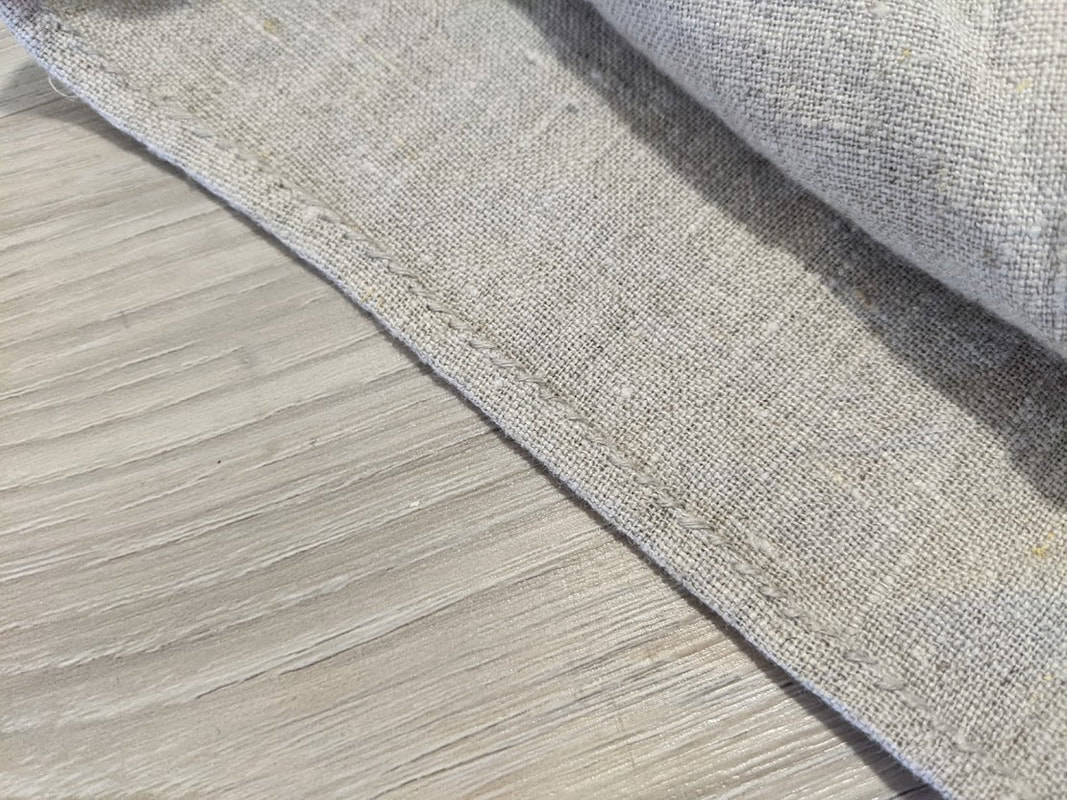 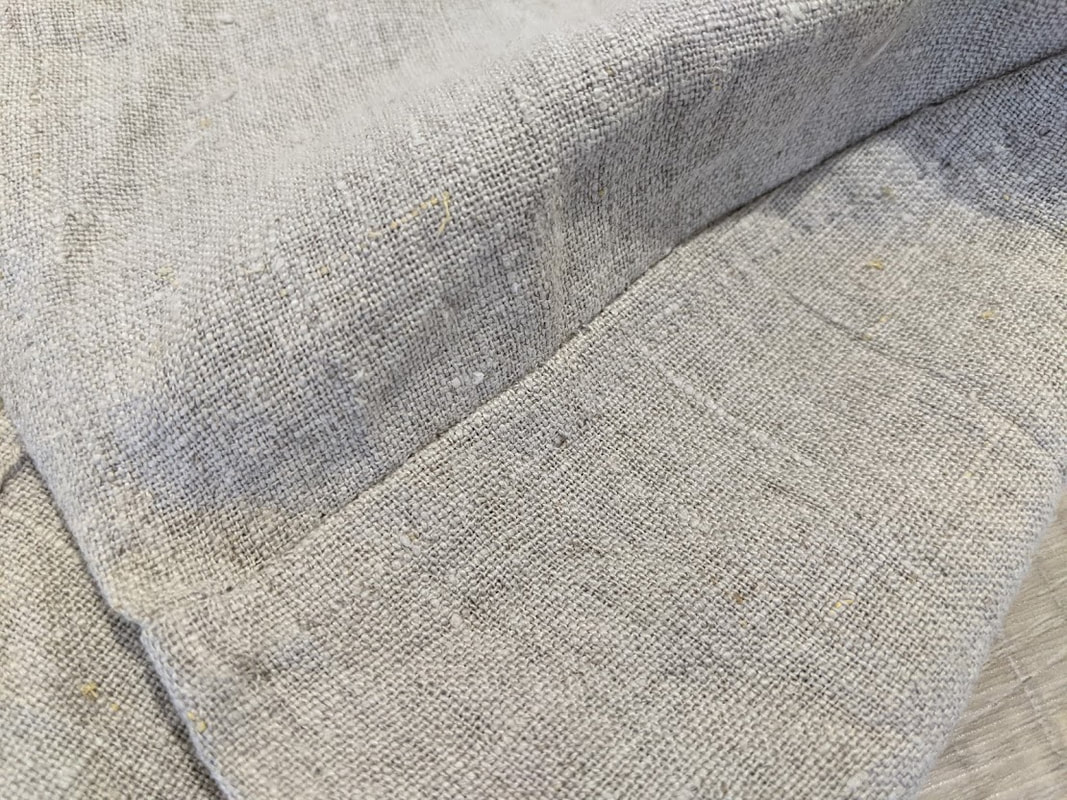 And with that you're all done! In nine easy steps you can have an even-ready, historically-accurate Medieval men's linen coif! 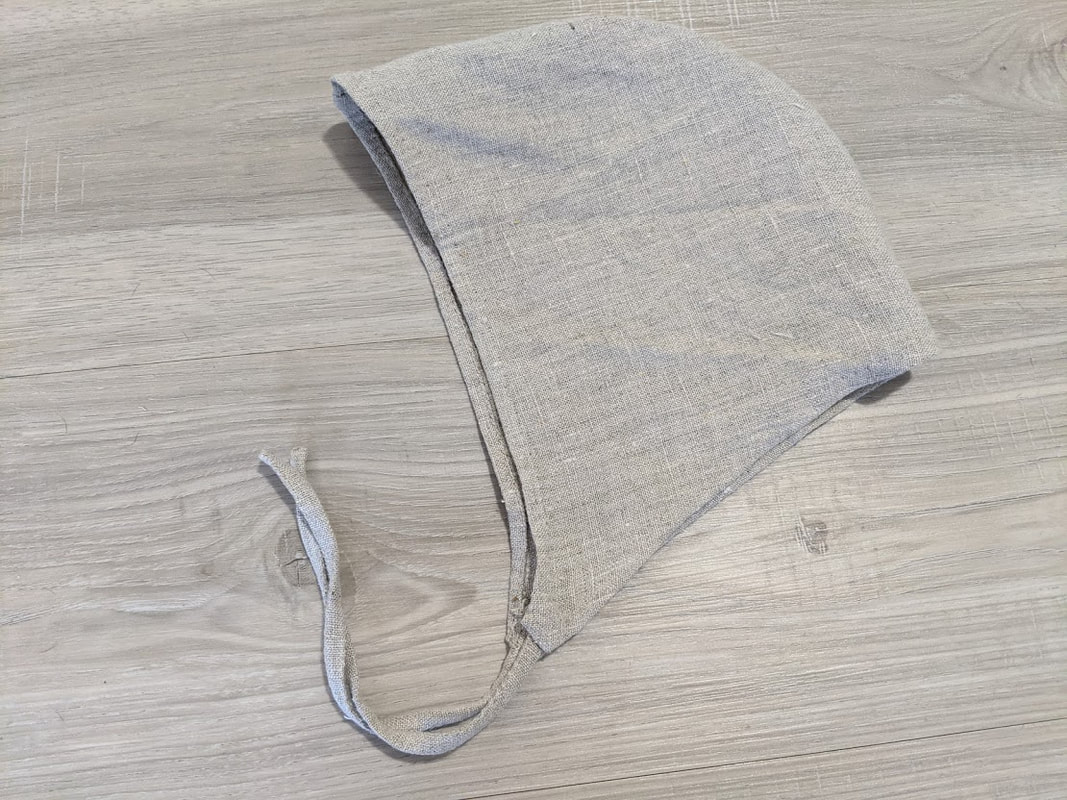 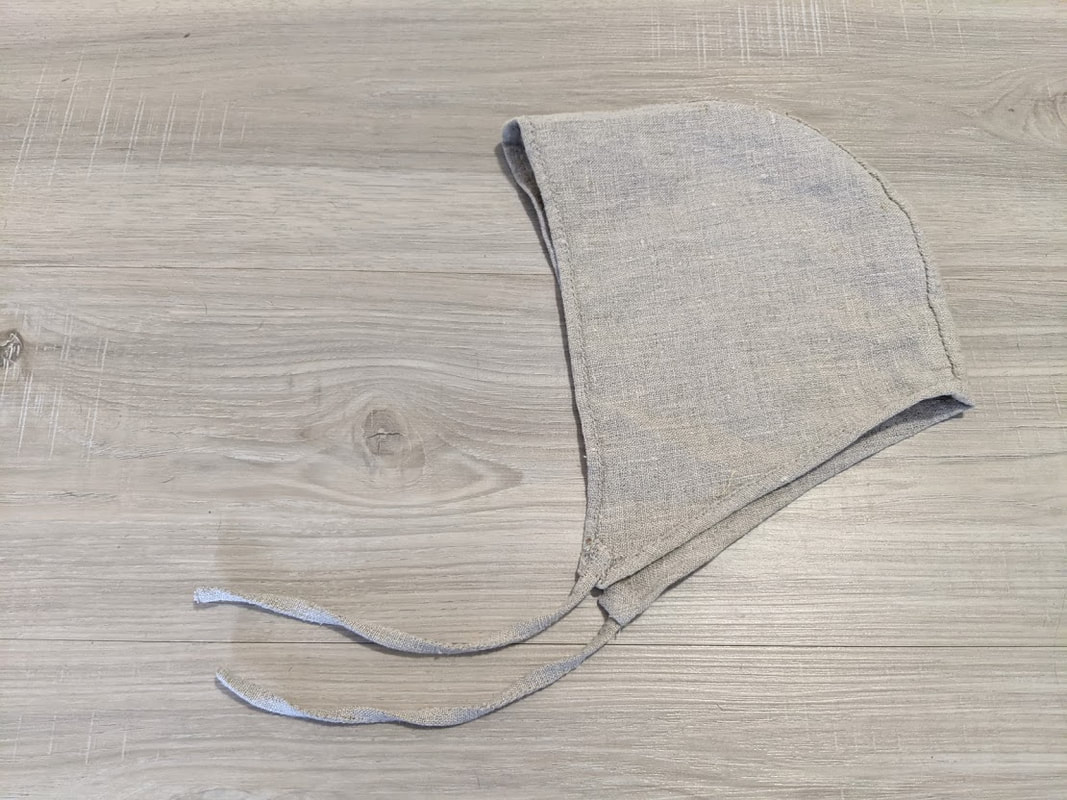 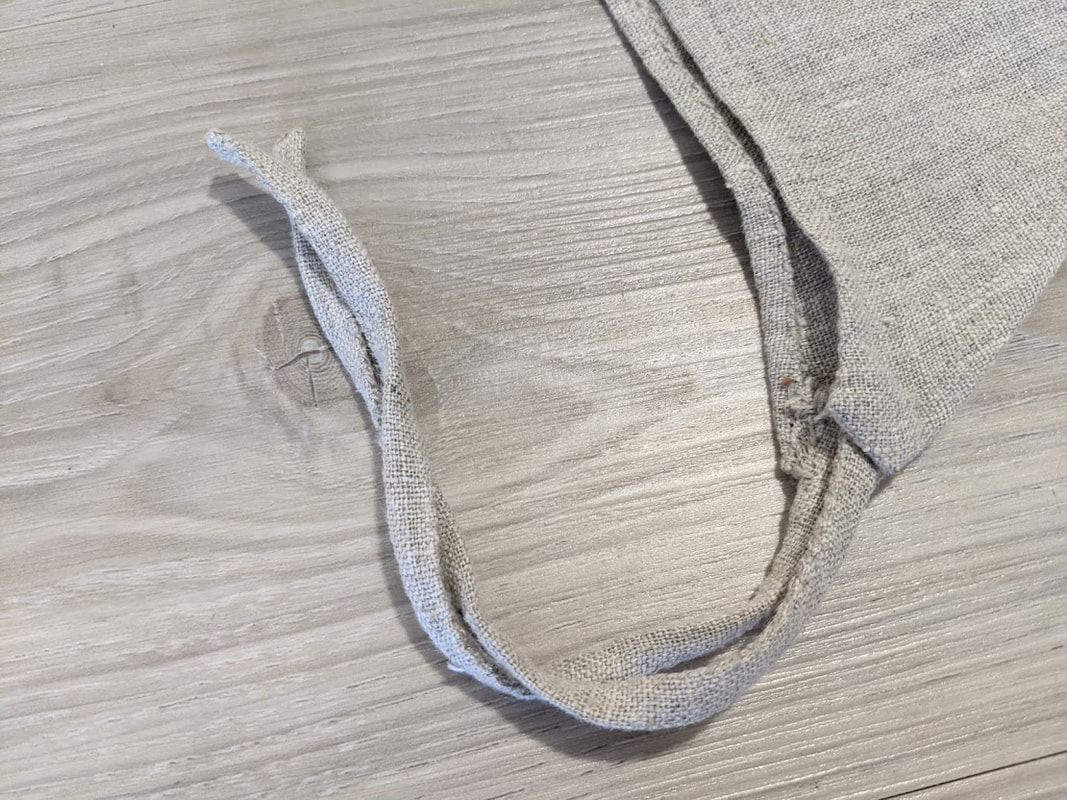
0 Comments
I had made this pouch some time ago, as most of you who have been following the site have seen it in nearly all of my 14th Century photos, yet I had forgotten I did a step-by-step article on the production process! So here it is, short, sweet, and to the point: Step 1: The Pattern The first step here is to create the pattern for the pouch. As we all know, leather isn't the cheapest material to work with, so making sure you have all of your dimensions and shapes down beforehand is usually best. I used some scrap drawing paper from my old and outdated notes for this, as it's very stiff and holds the shape for the pattern very well! This particular pouch will consist of a front and back piece, center gusset, and a two-part strap which consists of a buckle end and a feeder end.  Step 2: Marking the Leather Once the pattern is down, the next step is to mark it onto the leather. For this pouch, I used a semi-stiff vegetable-tanned 13 oz. cow hide for the main body and strap components of the pouch. The center gusset will be softer and made from some leftover calf skin I had from some shoes I had made prior to this project. I wasn't too concerned about using an ink pen to mark everything on this project in particular since it will all be dyed black later on, anyway, however, on lighter project you definitely want to use something that won't permanently mark your leather if it's going to be a lighter shade than the marking device you're using!  Step 3: Cutting After all of the components are marked and measured, you can begin cutting. For this, especially since there are so many rounded edges, I used a curved Exacto knife. You can also use an actual leather cutting blade, or whatever preference you have. 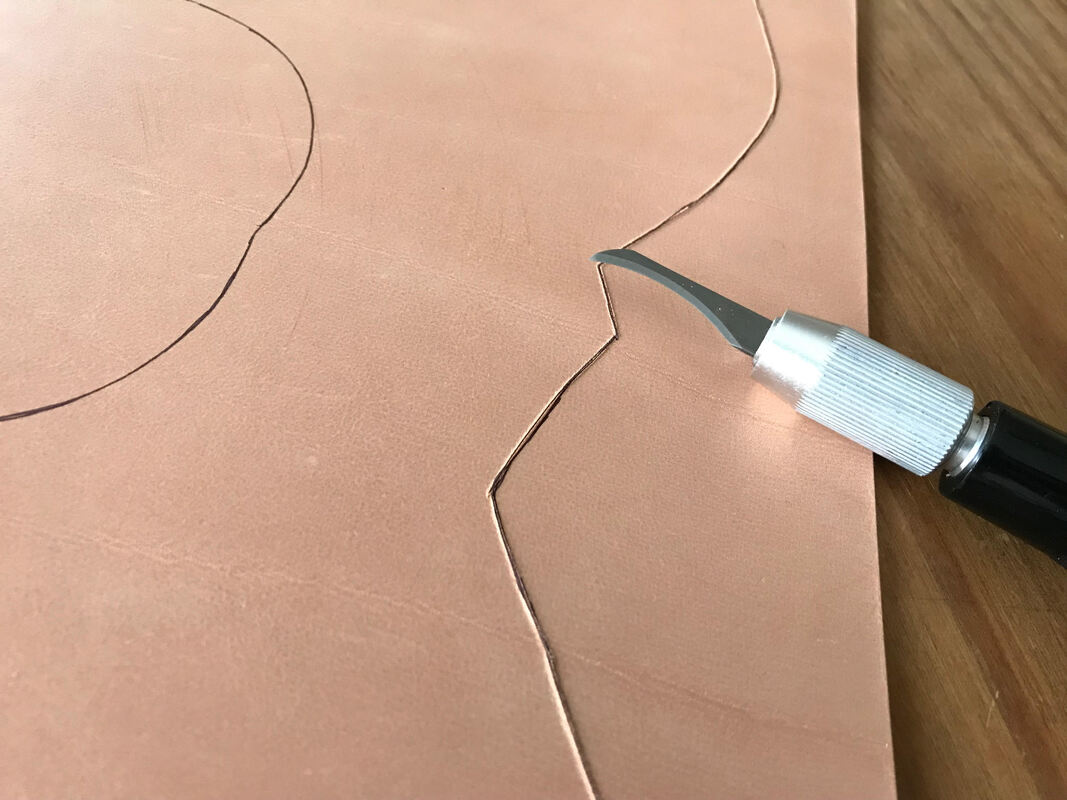 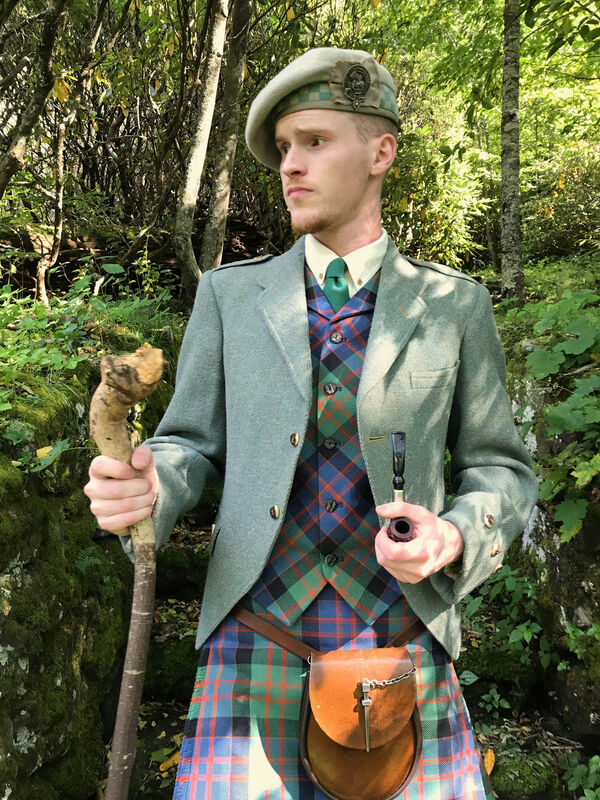 Step 4: Edge Burnishing This can be a bit tricky, especially if you're like me and don't have an actual edge burnisher yourself, which don't worry yourself about that too much - they didn't have them in the 14th Century, either! To round off my edges slightly, I just use two glass cups, one with water, one without, and dab the water onto the edges and run the side of the empty cup on it. This will somewhat eliminate the rough edges on the leather and smooth it out a bit. Using the cup method isn't particularly pretty, but it does do the trick well enough, and once everything has been dyed, still looks pretty good. 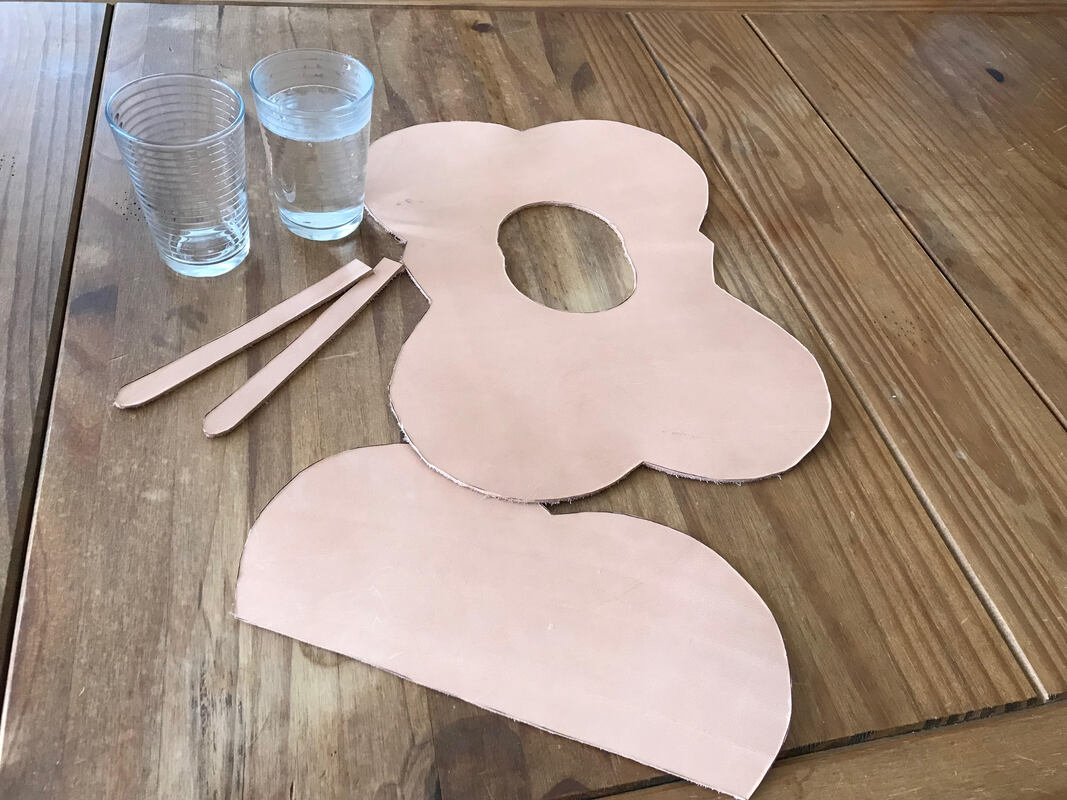  Step 5: Tooling You have a couple of different options here - you can either choose to leave the pouch plain, or tool the leather in a design of your own liking, or go like me and copy an original motif. The motif I went with was copied from an original work (the title of which has left me) in which the man is wearing a black pouch which has diagonal stripes along the flap with circles stamped in between them. This was a super easy design and took only a few minutes to complete!  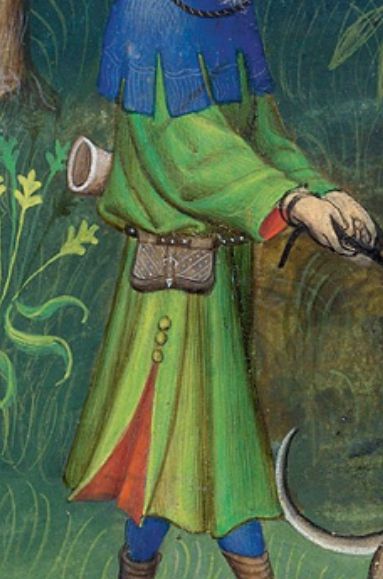 Step 6: Before you start sewing, it's time to dye the leather! Some folks opt to do this afterward, but I prefer to do it before, as sometimes the dyeing process can alter the shape and wear of the leather and make your original pattern wonky, so I feel dyeing it before lets it shape before I sew so I can adjust - similar to pre-washing your fabric before making a garment! I went with a black dye, since black appears to be extremely prevalent in 14th Century artworks for leather goods. There has been some debate on whether these are intended to be actually black, but we'll talk about that in a later article! 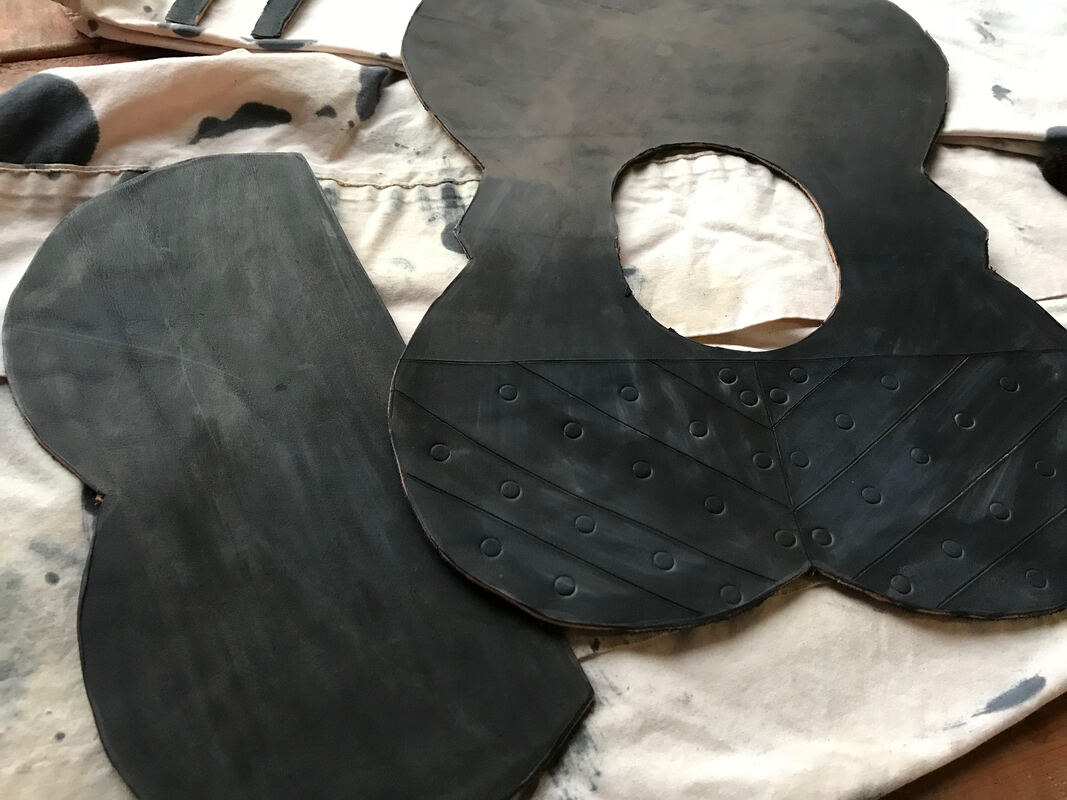 Step 7: Sewing Finally we can start sewing! The process I used for this was punching the holes one at a time with a sewing awl, and then lacing them through using the pony stitch technique with waxed linen thread and two needles. The order I assembled the pieces are as follow: 1) Center gusset to front, inside out, 2) Front piece and center gusset to back panel, right side out, 3) Rear strap, 4) Front strap, 5) Buckle, 6) Stitching line across the top to hold the front and back pieces together. The straps were sewn on using the same pony stitching method in a triangular manner. 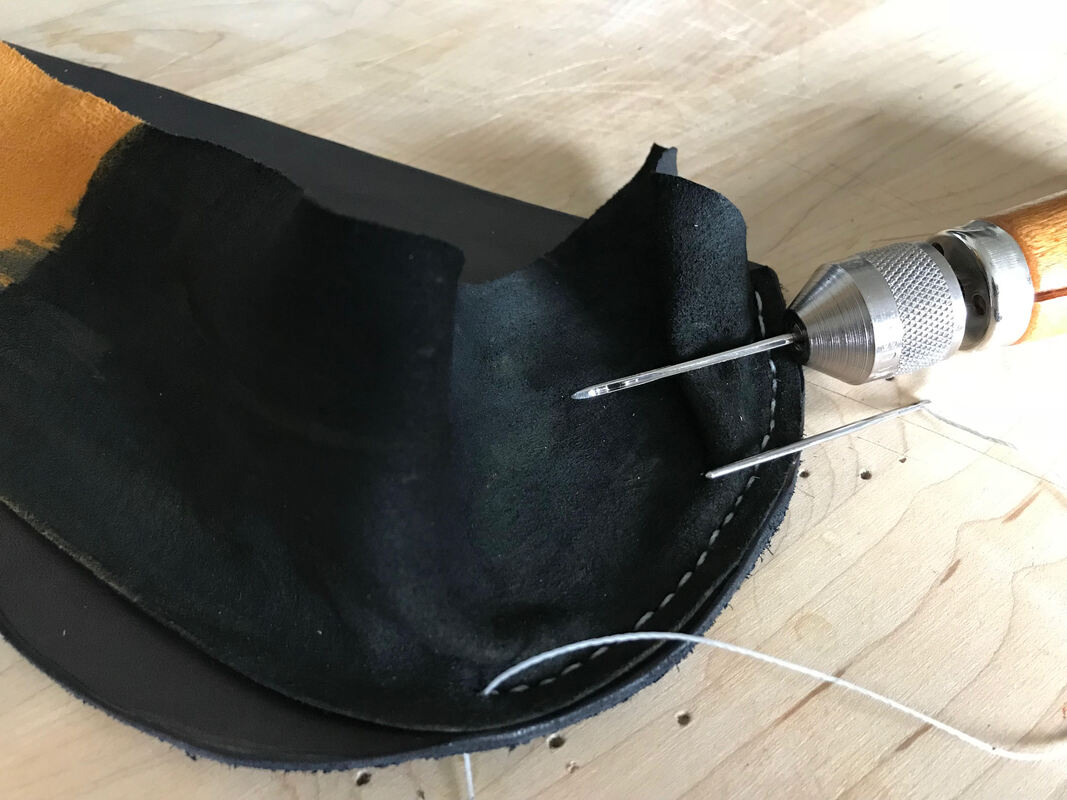 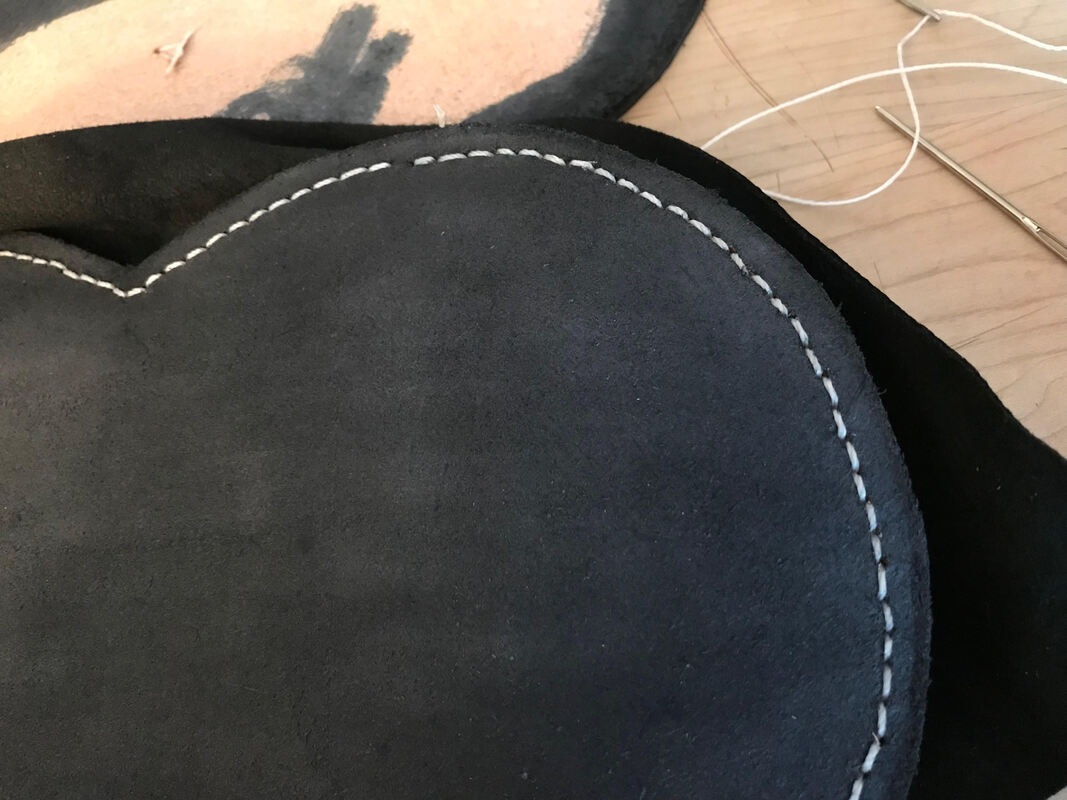 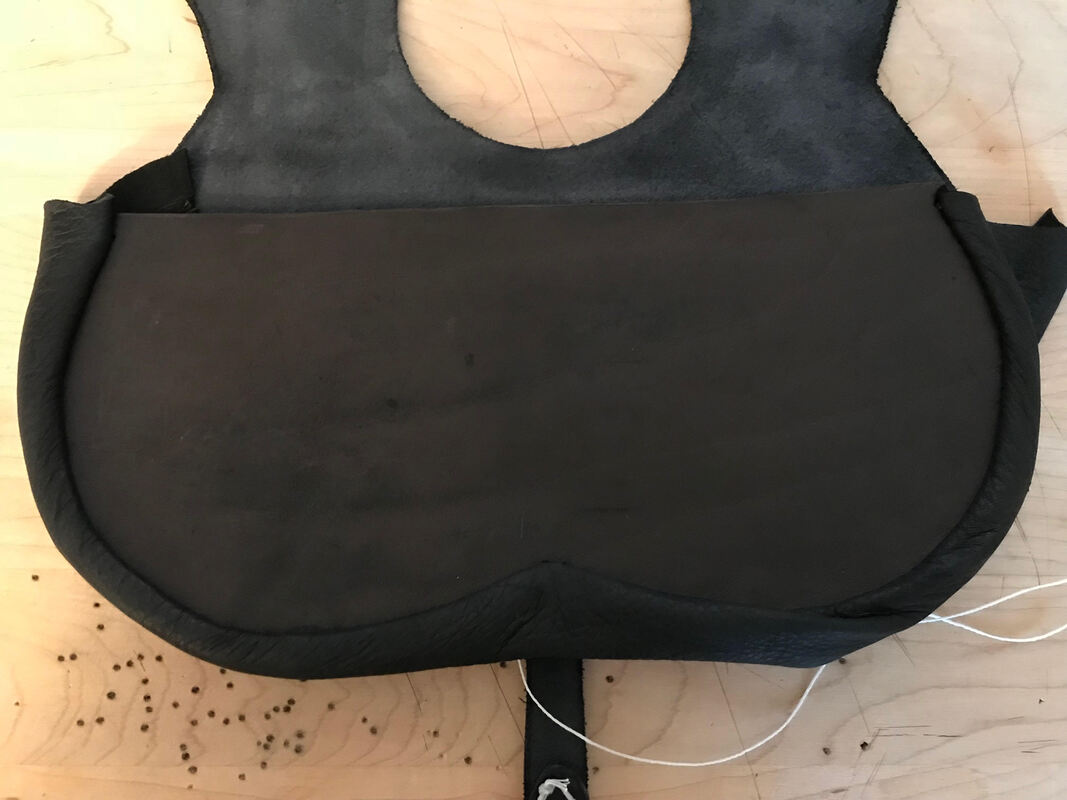 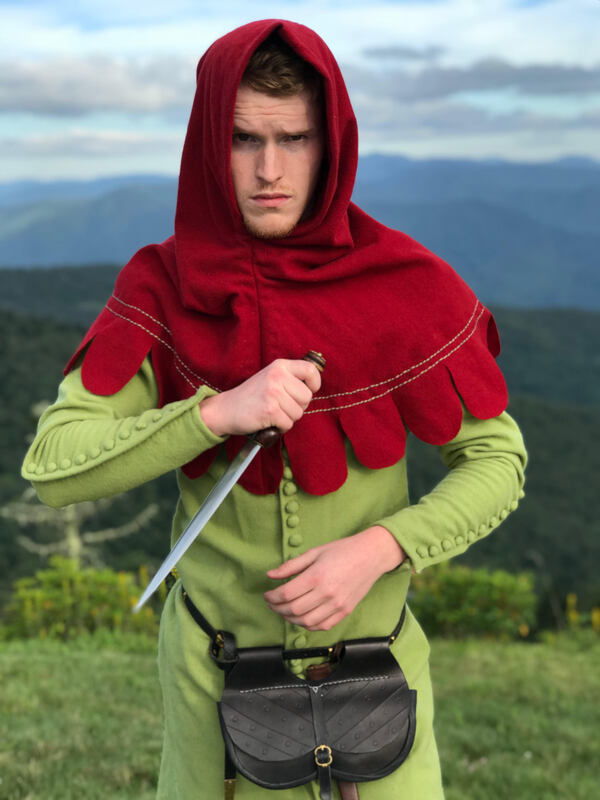 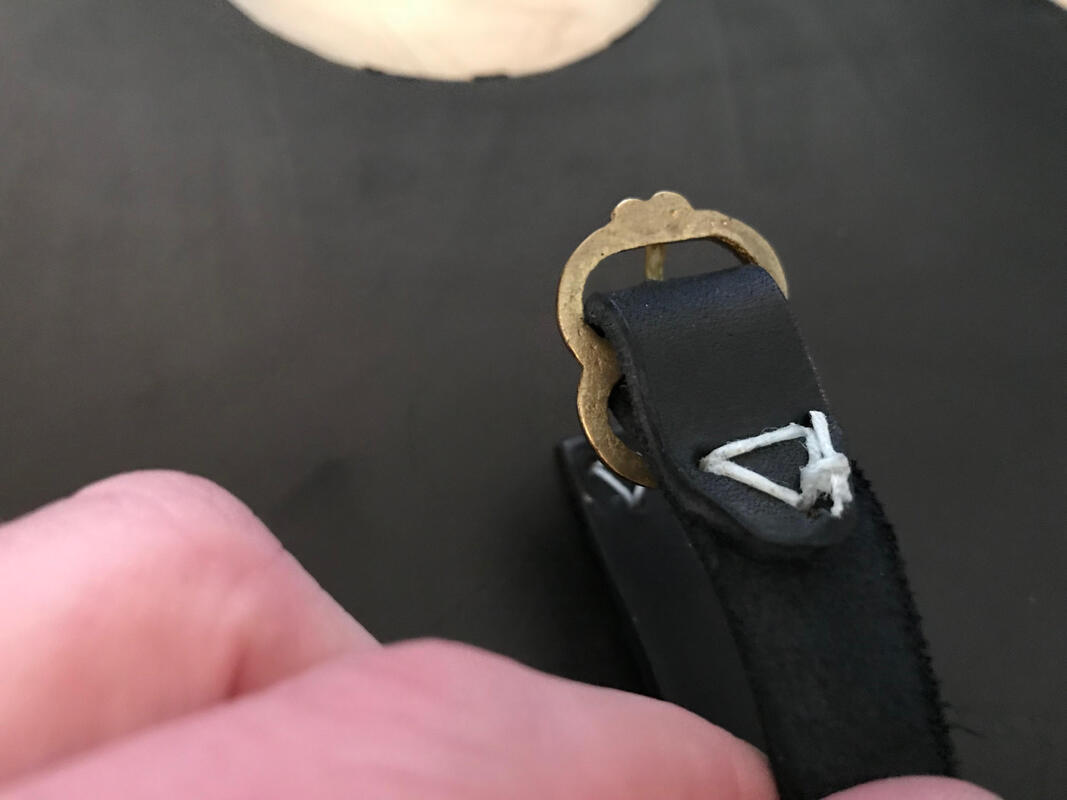 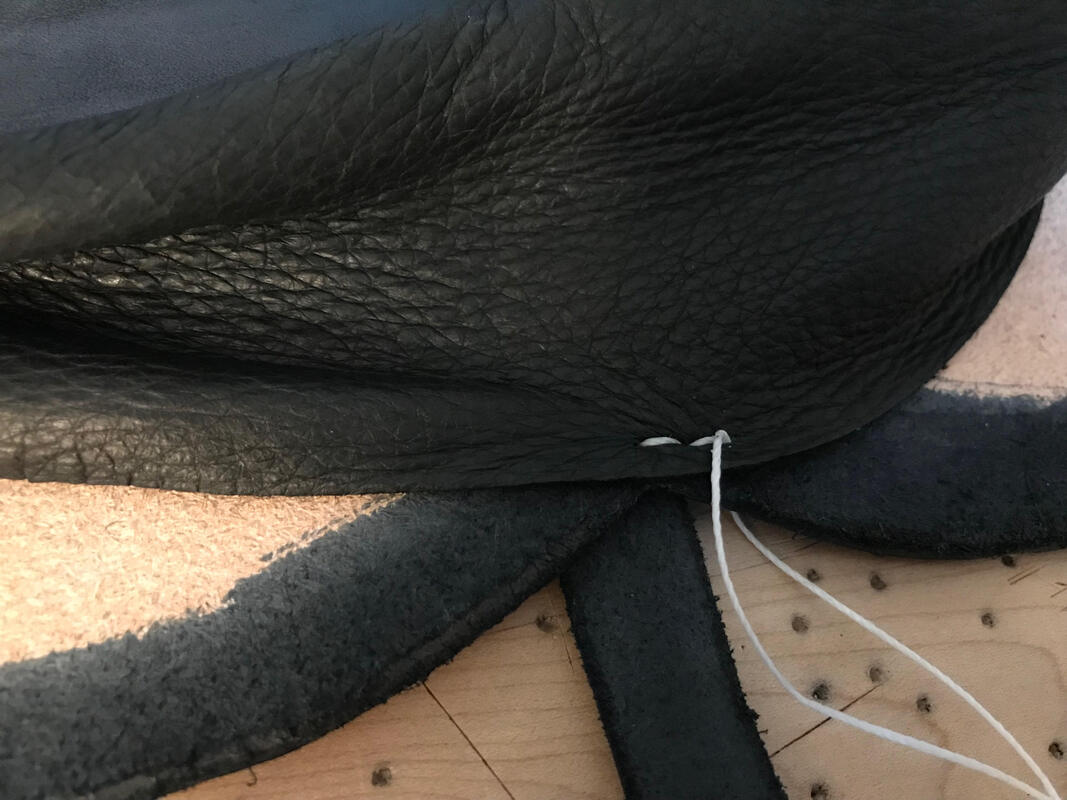 And just like that, you're done! Total hours involved on this pouch, including dye drying, etc., was about five to six hours, so easily a project you can complete on a rainy day! Of course, this time depends on your skillset, decorations you add, etc., but these are a pretty simple project overall, especially when compared to other items from the period you could make (like sewing 50+ cloth buttons on a Cotte!) The finished product is a basic representative piece of the average "kidney" belt pouch seen in a lot of Medieval artwork, not just in the 14th Century, and can be produced with even a basic understanding of leather work. That said, if anyone wants one made, I do take commissions on these! ;)    |
AboutThis page will focus on the lifestyles of those living in Medieval Europe from approximately the 11th Century through the 14th. Archives
April 2021
Categories
All
|
 RSS Feed
